
Picking
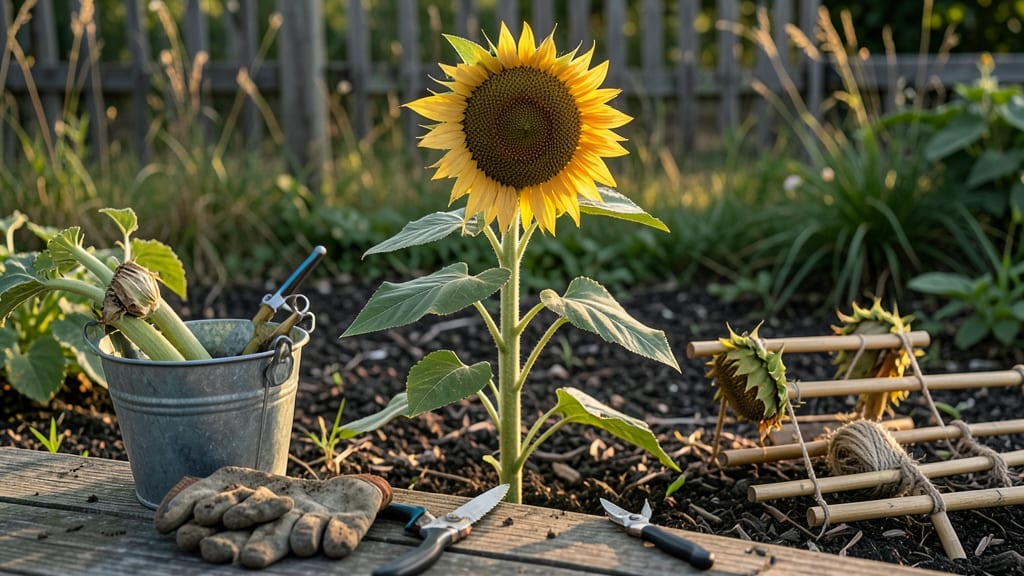
Harvesting sunflowers at the right time ensures you get plump seeds and lasting blooms—but knowing when those golden heads are ready can be tricky.
Picture this: your 🌻 sunflowers stand tall in your USDA Zone 6 garden, their petals swaying in the breeze. One day, they’re vibrant and full of life, but by the next, they’ve started to droop.
That’s your cue—they’re begging to be picked! Miss this window, and you’ll end up with seeds that birds have already snacked on or flowers that wilt before you can enjoy them.
Timing your harvest isn’t just about waiting until the petals fall—it’s about watching for the three key signs that tell you your sunflowers are ready. From the color of the seed head to how easily the stem snaps, these clues will help you avoid common mistakes and maximize your yield.
Whether you’re growing sunflowers for their seeds, flowers, or just the joy of watching them bloom, knowing when to harvest makes all the difference.
In this guide, I’ll walk you through the exact moments to pick your sunflowers, how to test seed maturity, and what to do once they’re in your hands.
By the end, you’ll feel like a sunflower harvest pro—ready to enjoy the fruits of your labor from late summer through early fall.

3 Unmistakable signs your sunflowers are ready for harvest
Timing your sunflower harvest correctly means the difference between plump, viable seeds and shriveled disappointment. The key lies in observing three visual and tactile cues that scream "pick me now!" These signs ensure you capture seeds at their peak maturity, avoiding both premature harvesting and overripe blooms that attract pests.
Let’s break down what to look for—before the birds get there first.
First, pay attention to the petal transformation. When sunflowers reach maturity, their vibrant yellow petals begin to droop dramatically or fall away entirely. This isn’t just wilting—it’s a clear signal that the plant has redirected its energy to seed development.
If you see petals curling or detaching, your sunflower is ready for the cutting block. Ignore this sign, and you risk seeds that never fully develop.
Next, examine the seed head’s backside. At peak harvest time, the reverse of the seed head turns from green to a dry, papery brown. This color shift indicates the seeds inside have reached full maturity and are ready for harvest.
Run your fingers along the seed head—if it feels crisp and dry (like a brittle leaf), that’s your green light. If it still feels moist or rubbery, hold off for another week.
Finally, test the stem’s readiness. A mature sunflower stem should snap cleanly at the base with minimal resistance. If the stem bends but doesn’t break easily, the seeds aren’t fully mature yet.
This tactile check is especially useful in humid climates, where seed heads might stay green longer due to excess moisture. A crisp snap means it’s time to harvest—before the seeds scatter or sprout in the head.
| Sign | Early Stage (Not Ready) | Late Stage (Overripe) | Perfect Harvest Time |
|---|---|---|---|
| Petal Condition | Bright yellow, fully open 🌸 | Completely fallen or browned 🌼 | Drooping or partially fallen 🌼 |
| Seed Head Color | Green or partially browned 🟢 | Fully brown but brittle 🟤 | Brown and papery on backside 📄 |
| Stem Firmness | Flexible, bends without snapping 🌿 | Dry and hollow (may break easily) | Snaps cleanly at base ✂️ |
| Seed Head Texture | Moist or rubbery to touch 💧 | Overly dry, seeds may rattle | Crisp and papery 📄 |
One common mistake gardeners make is waiting until the entire petal head falls off. By this point, seeds may have already scattered or been eaten by birds. Instead, aim to harvest when 50-70% of petals have dropped.
This ensures seeds are mature but still contained. For dwarf varieties, which mature faster, check these signs 2-3 weeks earlier than standard sunflowers.
Regional differences also play a role. In cooler climates (like USDA Zone 4), sunflowers may take longer to mature, so monitor the seed head color closely. In hotter zones**> (like Zone 9), the drying process happens faster—sometimes in as little as 4-5 weeks.
Always harvest on a dry, sunny morning to prevent mold growth during post-harvest drying.
Pro tip: If you’re unsure, cut one sunflower head and let it dry indoors for a few days. Open a seed to check its color—it should be plump and white, not shriveled or hollow.
This test gives you confidence for your next harvest. Remember, the earlier you act on these signs, the better your seed yield will be.
Once you’ve mastered these three signs, you’ll never miss harvest time again. Your garden will thank you with bountiful seeds and fewer visits from hungry birds. Happy harvesting! 🌻
How to test sunflower seed maturity for maximum yield
Once your sunflower petals start to droop, you might think it’s time to harvest—but not so fast! The real magic happens in the seed head, where three simple tests reveal whether your seeds are ready for picking.
I’ve used these methods for years in my Zone 6 garden, and they’ve never failed me. The key is combining visual cues with tactile checks to avoid harvesting too early (or too late!).
Start with the color check: mature seeds turn a rich, deep brown on the back of the head while the petals fade to a dull yellow or drop entirely. This shift signals the seeds have reached peak oil content—perfect for roasting or planting.
In hotter climates like the Southwest, this change happens faster, so keep an eye out after 70 days from planting. If you’re in cooler regions, give them a few extra weeks.
Next, try the thumb-squeeze test, my favorite trick for confirming maturity. Gently press a seed between your thumb and forefinger—it should feel firm and dry, almost like a hard kernel. If it squishes or feels moist, wait another week.
This test works because mature seeds lose moisture as they ripen, making them crisp and ready for harvest. Pro tip: Do this test on 3-5 seeds from different heads to account for variability in your garden.
🌱 Harvest Time Hack:
Listen for the sound of maturity! Tap the side of a seed head with your knuckle—if it makes a hollow, papery sound, the seeds inside are dry and ready. This trick works because air fills the seed cavities as moisture evaporates, creating that telltale echo. Test this in the morning when stems are firmest for the most accurate results.
Climate plays a huge role in seed maturity timing. In humid regions, like the Southeast, seed heads may stay green longer due to slower drying. Here, I often wait until the first frost threat (usually late October) to ensure full maturity.
Conversely, in arid climates, seeds dry out faster—sometimes within 60 days—so harvest earlier to prevent cracking. Always adjust your timing based on local weather patterns and your sunflowers’ growth rate.
Don’t overlook the stem test as your final check. Grasp the stem near the base and give it a slight twist—if it snaps cleanly with minimal resistance, the plant has redirected its energy to seed production. A woody, stubborn stem means the seeds need more time.
This test ensures you’re not yanking up underripe heads that’ll wilt before you can use them. For tall varieties (like Mammoth), this is especially important since they’re prone to lodging if harvested too early.
Once you’ve confirmed maturity using these tests, act quickly! Sunflower seeds can sprout in the head if left too long, or become a bird buffet overnight. Cut the stems at a 45-degree angle just above a leaf node to encourage water uptake during drying.
Hang the heads upside down in a well-ventilated, dry space (like a garage or shed) for 2-3 weeks
By mastering these three maturity tests, you’ll transform guesswork into a foolproof system for harvesting sunflowers at their peak. Whether you’re saving seeds for next year’s garden or roasting them for snacks, these techniques guarantee the best possible yield. Now go enjoy that golden harvest—your sunflowers have earned it! 🌻