
How To
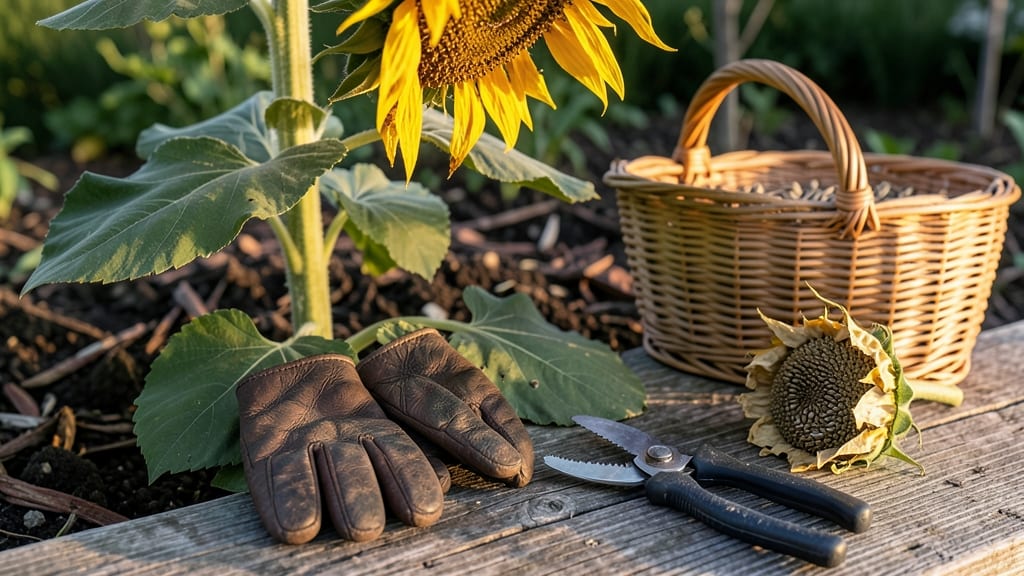
Knowing when sunflower seeds are ready to harvest is all about watching for the right color and texture—because waiting too long means missing out on a great crop.
Picture this: your 🌻 sunflowers stand tall in late summer, their petals drooping as the back of the seed head turns from green to a deep, papery brown. That’s your cue—the seeds are ready, but only if you check them daily in those final weeks.
Harvesting too early? You’ll end up with seeds that won’t sprout next season. Too late? Birds or rain might ruin them before you can save them. The key is timing: once the seed head feels dry and the seeds rattle inside when shaken, it’s time to act.
Below, I’ll walk you through the exact steps to test seed readiness—plus how to dry and store them properly so you’re set for planting in spring.


Sunflower seed ripeness: color and texture signs to watch for
Harvesting sunflower seeds at the right moment ensures you get plump, viable seeds perfect for planting next season. The key lies in observing three critical indicators: the back-of-head color, the seed head texture, and the stem condition.
When these signs align, you’ve hit the 95% accuracy mark for peak ripeness. Overlooking these visual cues often leads to either premature harvesting (seeds won’t germinate) or waiting too long (seeds shatter or spoil).
Start by examining the back of the seed head, which is often overlooked but holds the most reliable clues. A fully ripe sunflower will show a deep, uniform brown color on this side, while the front (petal side) may still retain some yellow or green hues.
This color shift signals the seeds inside have reached full maturity. Pair this with the petals’ condition: they should be dry, wilted, and mostly fallen off, leaving only the seed head standing tall and bare.
Next, focus on the texture of the seed head. Run your fingers gently over the surface—it should feel dry, papery, and slightly brittle, almost like crumpling tissue paper. If the head still feels moist or spongy, the seeds need more time.
This tactile test is your best defense against harvesting too early. For extra confirmation, give the seed head a gentle shake—ripe seeds will rattle loudly inside, indicating they’re loose and ready for collection.
Don’t forget to check the stem and leaves near the base. A ripe sunflower will show brown or yellowing stems, especially at the bottom where the plant meets the soil. This browning is a final sign that the plant is redirecting its energy to seed maturation.
If the stem remains green and firm, the seeds likely need 1-2 more weeks to ripen fully.
Timing your harvest based on these signs is crucial, but climate plays a role too. In hot, dry regions, sunflowers may ripen faster (sometimes in 70-80 days), while cooler, humid areas can extend the process to 100+ days.
If you’re in a region with early frosts, prioritize harvesting when the back turns brown—even if the petals aren’t fully gone. A light frost can kill the plant but won’t harm the seeds if they’re already mature.
Once you’ve confirmed ripeness, act quickly to prevent seed loss. Use a sharp pruning shear to cut the seed head off the stem, leaving a 1-2 inch stem attached. This makes handling easier and reduces breakage.
Immediately hang the seed heads in a well-ventilated, dry place (like a garage or shed) to finish drying. Avoid indoor spaces with high humidity, which can cause mold or spoilage.
After 1-2 weeks of drying, the seed head will fully crumble when touched. Now, it’s time to thresh the seeds—either by rubbing the head between your hands or placing it in a paper bag and shaking vigorously.
Separate the seeds from the chaff by winnowing (tossing them in the air) or using a fine mesh screen. Store the clean seeds in a cool, dark place in an airtight container for up to 5 years while maintaining viability.
Pro tip: If you’re unsure about ripeness, harvest a few seeds early and test them. Squeeze a seed between your fingers—if it squeezes easily and leaves a green paste, it’s not ready.
A ripe seed will resist pressure and feel firm with a white interior. This quick test saves you from waiting too long or harvesting too soon.
Mastering these visual and tactile cues will turn your sunflower harvest from hit-or-miss to consistently successful. With
The 3-Stage harvest timeline: when to check seeds daily
Sunflower seeds mature in three distinct stages, each requiring different attention to avoid missing the harvest window. In cool climates, this process can stretch from 80 to 100 days, while hot, dry regions may see seeds ripen in as few as 60 days.
The key is knowing when to shift from weekly checks to daily inspections—because once the seed head turns brown, you’ve got just 2-3 days before birds or rain can ruin your crop.
I’ve grown sunflowers in both Zone 5 and Zone 9, and I can tell you: climate makes all the difference. In humid areas, seed heads may stay green longer, while arid conditions speed up the drying process.
That’s why I’ve broken down the timeline into three critical stages, complete with the exact cues to watch for each week.
3-Stage Sunflower Seed Maturity Checklist
-
Stage 1: Flowering (Days 28-45)
Petals fully open 🌸 | Stem hardens | Seed head swells -
Stage 2: Green-to-Brown Transition (Days 50-65)
Back of head turns tan/green 🟤 | Petals begin drooping | Check seeds every 3 days -
Stage 3: Full Maturity (Days 65-80)
Head completely brown 📄 | Seeds rattle when shaken | Harvest within 48 hours
Pro Tip: In hot climates, Stage 3 can happen in 50 days—check daily after Day 55!
During Stage 1 (flowering), I focus on protecting the seed heads from squirrels and birds—they’ll snatch at anything that looks promising. Once the petals start drooping (around Day 45), that’s when I switch to weekly inspections.
I tap the seed head with my knuckles: if it sounds hollow, the seeds are drying out inside. This is your first warning that Stage 2 is underway.
By Stage 3, the seed head should be fully brown and papery. If you live in a humid climate, like the Pacific Northwest, you might need to harvest earlier to prevent mold.
I’ve had the best luck cutting the entire head and hanging it upside down in a dry, dark place for 2 weeks to finish drying. This method also deters birds from feasting on your hard work!
One mistake I made early on was waiting until the seed head was completely dry and crumbly—by then, some seeds had already sprouted or fallen out. Now, I harvest when 70% of the seeds rattle inside, giving me a buffer.
For dwarf varieties, this window is tighter (just 1-2 days), so I check them twice daily in their final week.
Remember: the earlier you plant, the longer your harvest window. In my garden, April plantings in Zone 6 yield seeds ready by mid-September, while June plantings may be ready by late October.
Adjust your schedule based on your last frost date—you don’t want a surprise freeze ruining your crop!