
How To
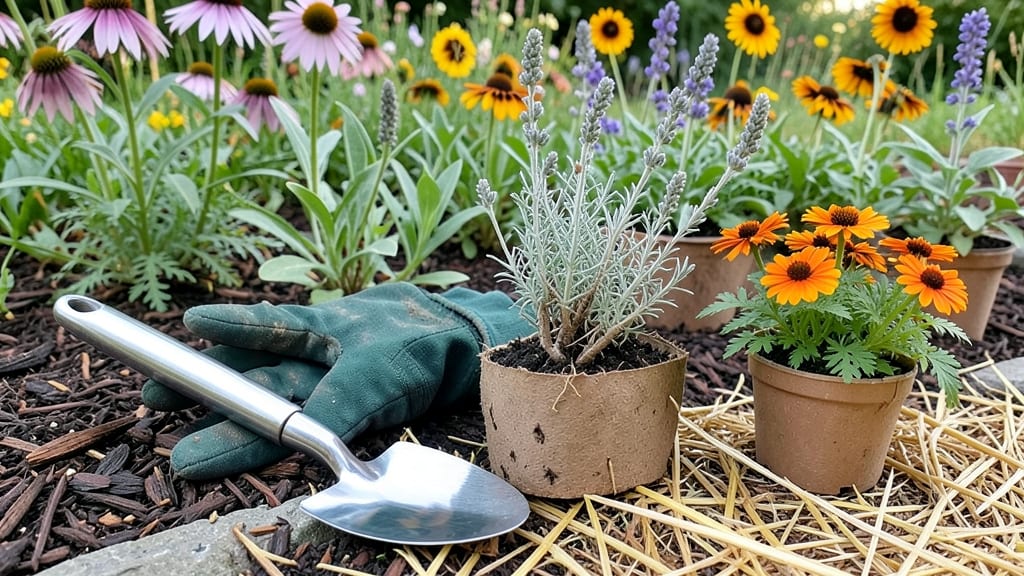
Making a flower bed 🌸 that blooms with color and stays vibrant all year is easier than you think—just follow these layered design tricks for a stunning, low-maintenance display.
Picture this: a blank patch of dirt transformed into a lush, layered garden that catches neighbors' eyes and keeps blooming from spring through fall. The key isn’t just picking pretty flowers—it’s about strategic placement, soil prep, and choosing plants that thrive together.
Whether you’re going for a formal, cottage, or wildflower look, the right combination of height, color, and seasonal bloomers makes all the difference. I’ll walk you through step-by-step planning, from measuring your space to selecting plants that grow harmoniously.
By the end, you’ll have a flower bed that feels like a pro designed it—year-round color, minimal upkeep, and that “wow” factor every time you pass by.
Step-by-step guide to designing a layered flower bed for maximum impact
A layered flower bed creates depth and visual interest by strategically placing plants in tiers based on height and color. This technique ensures your garden stays vibrant year-round while reducing maintenance. Start by sketching your design on paper to visualize how different height zones will flow together.
I’ve found that dividing plants into three main layers—tall, medium, and low—creates the most dynamic effect. This approach also makes it easier to maintain, as taller plants won’t block sunlight from shorter varieties.
Before breaking ground, assess your sunlight exposure and soil quality. Most flowering plants thrive in 6+ hours of sunlight, but some, like impatiens, prefer partial shade. Test your soil’s pH and amend it with compost or organic matter to improve drainage and fertility.
A well-prepared base is the foundation of a thriving flower bed. I recommend using a moisture meter to check drainage—water should seep into the soil within 30 minutes, not pool on top.
Now, let’s dive into the step-by-step process with this easy-to-follow guide:
Choose a location with 6+ hours of sunlight and mark the bed’s dimensions with stakes and string. Sketch a rough design, noting where tall plants (like delphiniums) will anchor the back, medium plants (like daylilies) will fill the middle, and low plants (like ajuga) will spill over the edges.
Remove grass or weeds, then loosen the soil to a depth of 12 inches using a shovel or tiller. Mix in 3–4 inches of compost or aged manure to enrich the soil. For heavy clay soil, add sand or perlite to improve drainage.
Use edging materials like bricks, metal, or flexible plastic to create clean lines. This prevents soil from spilling into lawns and keeps weeds at bay. For a natural look, try stone borders or gravel mulch along the edges.
Plant tallest plants (3–6 ft) at the back, medium-height plants (1–3 ft) in the middle, and low-growing plants (under 1 ft) at the front. Space plants based on their mature size—typically 12–24 inches apart for perennials and 6–12 inches apart for annuals.
Group plants by color families (e.g., purples, pinks, yellows) to create cohesive sections. Place blooming plants toward the front for immediate impact and foliage plants (like hostas) toward the back for texture. I love using evergreens in winter for structure.
Apply 2–3 inches of mulch (like shredded bark or straw) to retain moisture and suppress weeds. Water deeply 1–2 inches per week, focusing on the soil around the roots. Avoid wetting the foliage to prevent fungal diseases.
When selecting plants, prioritize a mix of perennials (for long-term structure) and annuals (for seasonal color pops). For example, pair black-eyed Susans (tall, golden blooms) with coneflowers (medium height, purple) and creeping thyme (low, drought-tolerant).
This combination ensures blooms from early summer through fall. Don’t forget to include seasonal interest with plants like heuchera for winter foliage or pansies for spring color.
Proper plant spacing is key to avoiding overcrowding. Measure each plant’s mature width and leave enough room for airflow—this reduces the risk of pests and diseases. I’ve seen many gardeners make the mistake of planting too closely, leading to competition for nutrients and stunted growth.
For instance, a daylily needs about 2 feet of space, while a salvia can thrive in 18 inches.
After planting, monitor your flower bed regularly. Remove spent blooms to encourage continuous flowering and divide perennials every 3–4 years to maintain vigor. In my experience, a well-layered bed requires minimal upkeep once established—just occasional watering, mulching, and deadheading.
For extra impact, add ornamental grasses like fountain grass or switchgrass to sway in the breeze and add movement.
Finally, don’t be afraid to experiment with thematic designs. A cottage garden style mixes wildflowers and heirloom roses, while a modern bed might feature geometric shapes and bold foliage. The key is to balance height, color, and texture for a harmonious look that evolves with the seasons.
With these steps, your flower bed will become the centerpiece of your garden! 🌸
Best flower combinations for year-round color and low maintenance
A year-round flower bed isn’t just about spring blooms—it’s a carefully curated mix of perennials, annuals, and foliage that transition seamlessly from season to season. The secret lies in pairing plants with staggered bloom times, varying heights, and complementary colors.
I’ve tested these combinations in my own garden, and they deliver continuous color with minimal effort after the initial setup.
For spring, start with early bloomers like heuchera (coral bells) and dwarf iris, which pop against the still-dormant garden. Add pansies for vibrant color and lamb’s ear for soft texture. These plants thrive in cooler temps and set the stage for summer’s showstoppers.
Here’s how to layer them for maximum impact:
For summer, swap in heat-loving coneflower (Echinacea) and black-eyed Susan for bold yellows and purples. Add Russian sage for vertical interest and salvia for hummingbird appeal. These plants thrive in dry conditions and require almost no watering once established.
Fall brings mums (chrysanthemums) and asters for late-season color, paired with ornamental grasses like Little Bluestem for texture. These combinations handle cooler temps and even light frosts, extending your garden’s life well into November.
Don’t forget winter interest! Hellebores (Lenten roses) bloom in late winter, while winter aconite adds cheerful yellow. Tuck in evergreen ferns or boxwood shrubs for structure when other plants fade. These plants need partial shade and minimal care—just a light mulch layer to protect roots.
To keep maintenance low, group plants with similar water and sunlight needs together. For example, pair succulents like sedum with lavender in sunny, dry spots. Add foliage plants like hostas or heuchera to fill gaps between bloomers and add year-round color.