
Mower
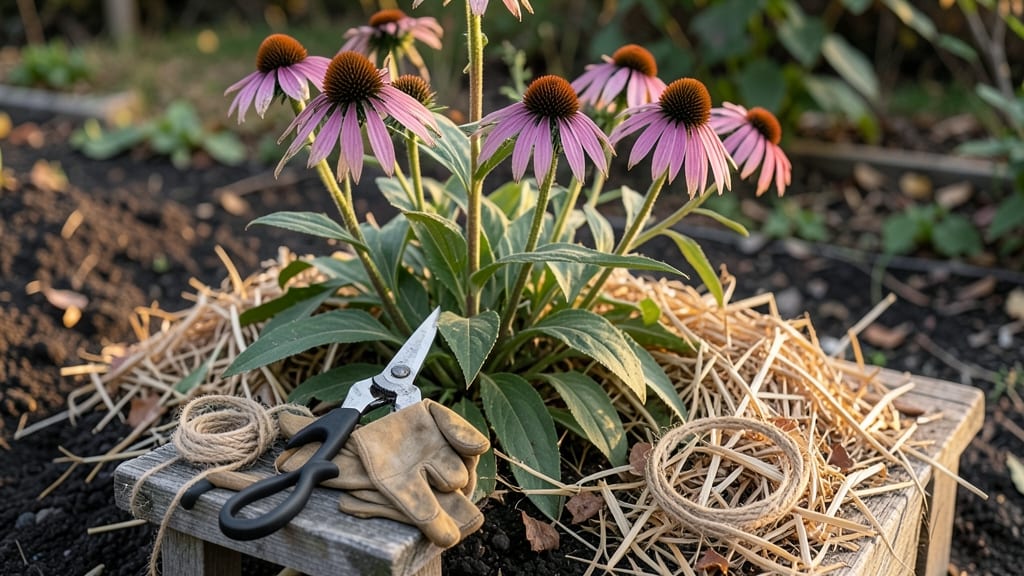
Winterizing coneflowers 🌼 protects their roots and sets the stage for next year’s vibrant blooms—and the steps are simpler than you might think.
Picture this: You’ve spent months admiring your purple and pink coneflowers in full summer glory, only to watch them fade into ragged stems by fall. Without the right care, they’ll struggle to bounce back, leaving you with sparse, weak growth instead of the lush display you love.
This guide covers the exact timing (after your first frost), the best tools, and the mulching secrets that keep roots cozy through freeze-thaw cycles. Whether you’re in zone 6a or colder, these steps ensure your coneflowers return stronger than ever.
You’ll learn how to cut back foliage the right way, choose the best mulch, and avoid common mistakes that leave plants vulnerable. By the end, your garden will be ready for a show-stopping comeback in spring.
When and how to cut back coneflowers before winter
Cutting back coneflowers before winter is one of the most important steps to ensure they survive cold temperatures and return stronger next year. Timing is everything—prune too early, and you risk encouraging new growth that won’t harden off before frost.
Prune too late, and you leave the plant vulnerable to disease and pests. The key is to wait until after the first hard frost but before the ground freezes solid, typically in late fall (October-November) in most U.S. regions.
I always use sharp, clean pruners to avoid damaging stems or spreading disease. Disinfect your tools with rubbing alcohol before and after each cut to prevent bacterial or fungal infections. Dull blades can crush stems, making plants more susceptible to rot during winter.
If you’re unsure whether your tools are sharp, test them on a few stems first—they should cut cleanly without tearing.
Now, here’s where it gets tricky: should you cut back all the foliage? The answer depends on your goals. If you want to support wildlife, leave the seed heads intact—they provide food for birds and other creatures over winter.
However, if you’re prioritizing plant health and disease prevention, cut back all stems to 2-3 inches above the ground. This reduces hiding spots for pests and allows for easier mulching later.
Step-by-Step Guide to Winterizing Coneflowers
- 1 Wait for the first hard frost: Prune after temperatures drop below 32°F (0°C) but before the ground freezes. This ensures the plant is fully dormant.
- 2 Use sterilized pruners: Clean blades with rubbing alcohol to prevent spreading disease. Cut stems at a 45-degree angle just above a leaf node or bud.
- 3 Decide on seed heads: Leave them for wildlife benefits or remove them for a cleaner look. If removing, cut back to 2-3 inches above the ground.
- 4 Remove all dead or diseased foliage: Look for brown, black, or moldy stems and prune them immediately. This reduces the risk of fungal infections like powdery mildew.
- 5 Rake away debris: Clear fallen leaves and stems from the base of the plant to improve air circulation and prevent moisture buildup.
- 6 Prepare for mulching: After pruning, loosen the soil slightly around the base to help water and air penetrate. This step is critical before adding mulch.
One common mistake I see is cutting back coneflowers too aggressively in early fall. If you prune before the plant enters dormancy, it may try to regrow, only to be damaged by an early frost.
Another error is leaving wet foliage on the plant, which can trap moisture and lead to rot. Always prune on a dry, sunny day to allow cuts to dry quickly.
For first-time winterizers, start small—focus on just a few plants to get the hang of the process. Pay attention to how your coneflowers respond in the following spring. If they bounce back with vibrant foliage and abundant blooms, you’re on the right track.
If not, adjust your timing or technique next year. Patience and observation are key!
Pro tip: If you’re in a colder climate (zones 3-5), consider adding a light layer of straw mulch immediately after pruning for extra insulation. This helps protect the roots from freeze-thaw cycles, which can be just as damaging as prolonged cold.
Just avoid piling mulch against the stems to prevent rot.
Finally, remember that coneflowers are perennials, meaning they’ll come back year after year if cared for properly. By mastering the art of winter pruning, you’re not just preparing for winter—you’re setting the stage for a showstopping spring and summer display next year. Happy pruning!
Best mulching methods to insulate coneflower roots over winter
Mulching is your first line of defense against winter’s harshest threats—freeze-thaw cycles and temperature swings that can damage coneflower roots. The right mulch acts like a cozy blanket, insulating soil while preventing compaction.
But not all mulches work equally—organic options break down to enrich soil, while inorganic ones last longer but may block moisture differently.
For coneflowers, I recommend a 3-4 inch layer of mulch applied after the first frost but before consistent freezing temperatures. This timing gives roots time to harden off while keeping them protected.
The key is balancing insulation with breathability—too much mulch can smother roots, while too little leaves them exposed.
Mulch Comparison for Coneflowers
| Mulch Type | Insulation Level | Moisture Retention | Best For Zones | Application Tips |
|---|---|---|---|---|
| Straw | Moderate (4-6°F warmer) | Low (allows drainage) | 3-7 | Spread 3-4" thick; fluff annually |
| Shredded Leaves | High (5-7°F warmer) | Medium (retains moisture) | 4-8 | Use oak or maple leaves; avoid walnut leaves |
| Pine Straw | Low (3-4°F warmer) | Very Low (dries quickly) | 5-9 | Layer 2-3" thick; pair with straw |
| Gravel/Rocks | Very Low (0-2°F warmer) | None (dries soil) | 6-10 | Avoid—compacts soil; use only as top layer |
| Wood Chips | High (6-8°F warmer) | High (retains moisture) | 3-7 | Use hardwood; keep 3-4" from stems |
*Avoid fresh wood chips (can leach phenols) and compacted mulch layers.
My top pick for coneflowers is shredded leaves or wood chips—they strike the perfect balance between insulation and moisture control. For colder zones (3-5), layer 4 inches of leaves followed by 2 inches of straw to maximize warmth without suffocating roots.
Always keep mulch 2-3 inches away from stems to prevent rot.
Avoid heavy inorganic mulches like gravel or black plastic, which can trap too much heat or block airflow. These options may seem convenient, but they often lead to soil compaction or fungal issues by preventing natural water absorption.
Instead, opt for organic materials that break down slowly, adding nutrients back to the soil as they decompose.
One common mistake I see is over-mulching—piling mulch too high around stems. This creates a damp, anaerobic zone where roots can suffocate. Stick to the 3-4 inch guideline and fluff mulch annually in early spring to prevent compaction.
If your garden faces extreme winds, secure mulch with a light landscape fabric or edging.
For young coneflowers or first-year plants, add an extra layer of straw or pine needles on top of your main mulch. This provides an additional 2-3°F of insulation, which can make the difference between survival and struggle in zone 4 or colder.
Just remember to remove any old mulch in spring before new growth emerges.